Configure the email scheduler (it's critical!)
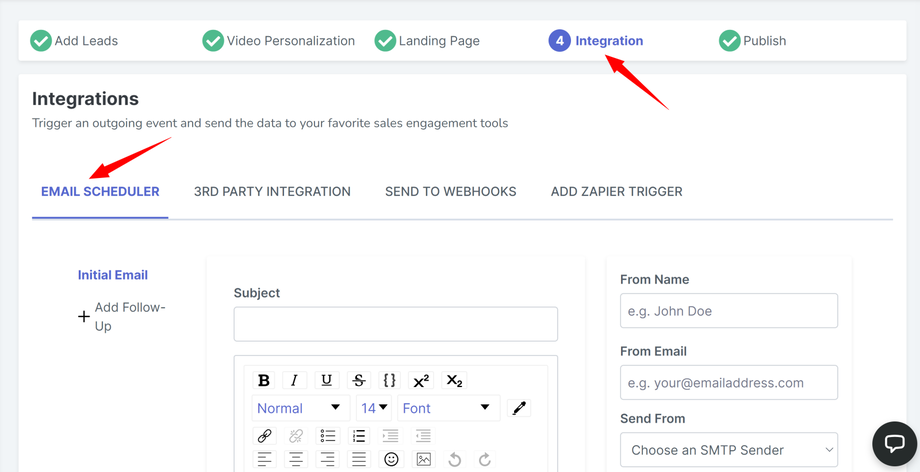
"Email Scheduler", the most frequently asked question. You can find this beast (not so) in the integration section as seen in the screenshot below.
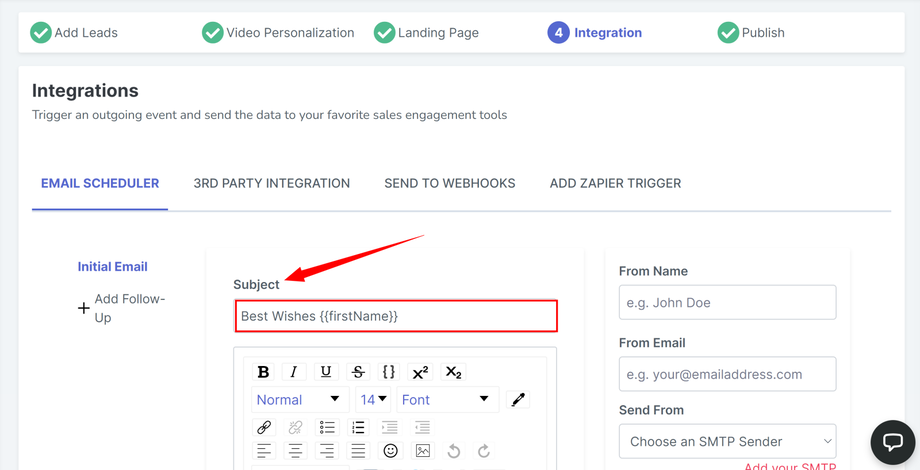
Subject line:
This is where you enter the subject of your email. Yes, it can hold custom variables as well like {{firstName}} to give your readers a personalized experience.
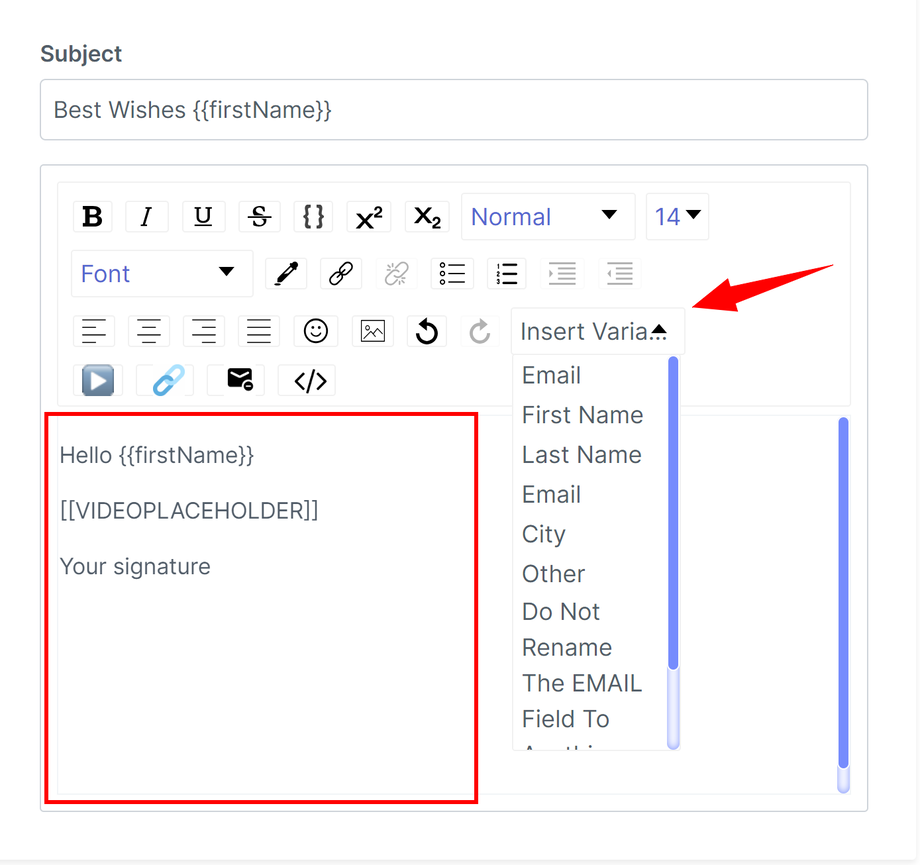
Email body:
In the body of the email, you need to write the email content as desired. In this section as well, you can add customer variables as needed.
Email sender details:
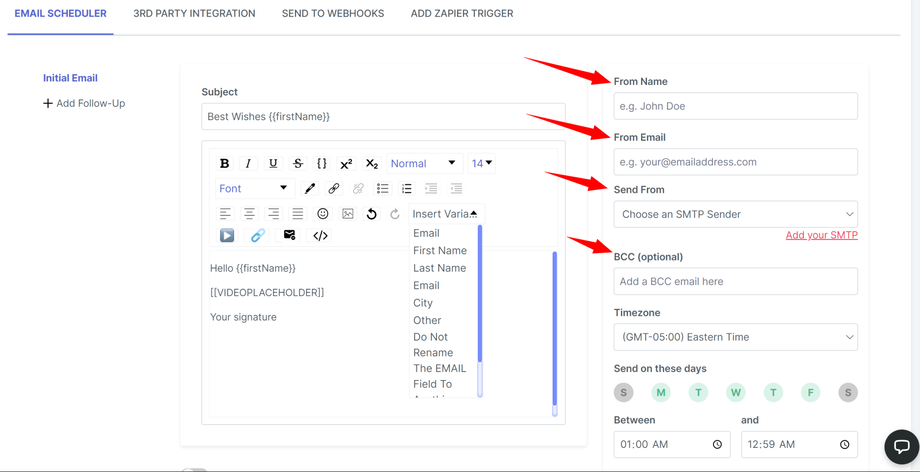
Next, fill out the "From Name" that the email receiver will see on their end and select the email address from the "Send From" drop down menu that you'd like to use for this campaign.
You may also add in a BCC address if needed.
Email delivery schedule:
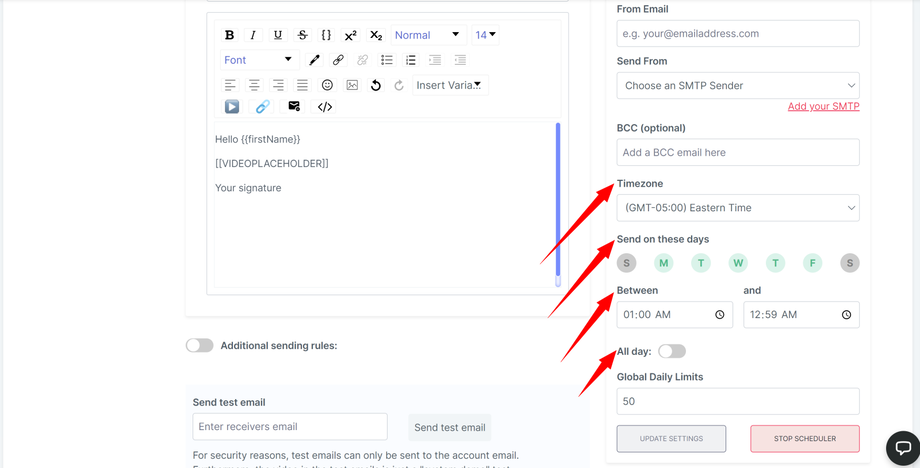
There are multiple time zones available to choose from before you proceed to schedule your emails. Please select an appropriate time zone.
Unless you want to send emails "all day", please select the days when you'd like the emails to be sent out.
You may also select a certain time period i.e between 9AM to 5PM.
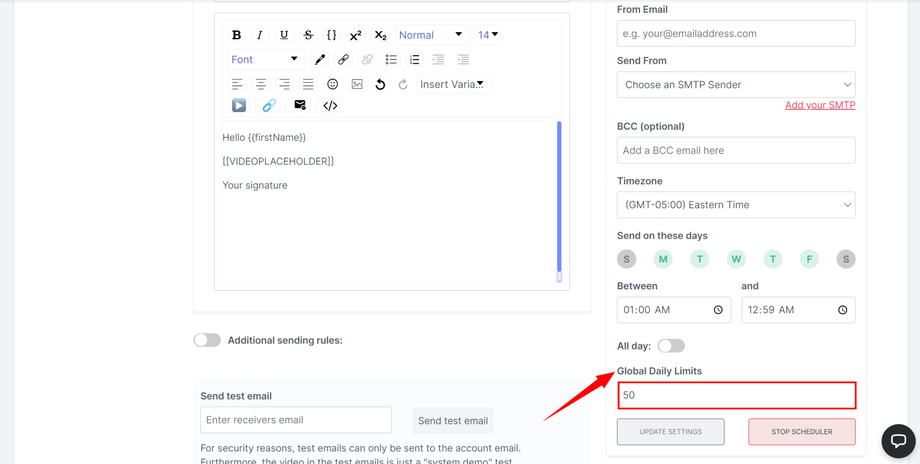
Global daily limits:
Determine the number of credits you'd like to use daily on the campaign.
Activate scheduler:
Once all the settings are in line with what you wanted, please "activate" the scheduler. This is CRITICAL because if the scheduler isn't activated, the emails won't be sent out.
Once done, click "continue" to proceed with the next steps and activate the campaign.


